Mfr varenr. A000067
ARDUINO MEGA2560 ATMEGA2560
Arduino
License: See Original Project Solder
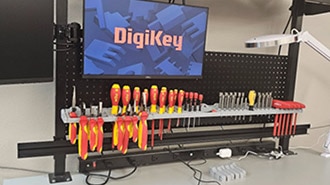
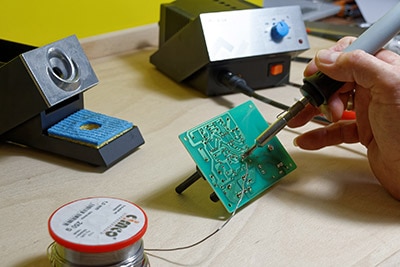
If you want to solder surface mount components to a PCB, you've got a few options. You can use a regular old soldering iron with magnification and do it by hand, or you can use a hot air workstation and heat the board and the solder until everything flows. But if you've got a lot of components, or you have a whole batch of PCBs, this is going to get really tedious. In this article, I'll show you how to convert a toaster oven into a solder reflow oven. Obviously, there are industrial ovens designed to do this, but if you're a hobbyist like me and you want to reflow your components at home, this is a really great option. I'm not doing anything novel here. There are a whole bunch of people out there who have already taken regular toaster ovens and turned them into reflow ovens. But I want to do this in a way that requires as few modifications to the toaster oven as possible.
Just a quick disclaimer: If you're going to do this, don't use the toaster oven for food after you've used it to reflow solder. There are a lot of extra chemicals and fumes that result from reflowing solder, and you don't want that mixing in with your food.
Solder reflow ovens need to be able to follow a solder reflow profile, which means they need to be able to adjust their temperature over time according to certain specifications. To accomplish this, I'm going to use a few components. I've got a thermocouple that I will connect to a microcontroller. This is going to give me a precise reading of the temperature of the board inside the oven. I'm going to use a PID control loop inside the microcontroller to signal a solid-state relay to turn on and off the oven. Most DIY reflow ovens that I've seen require you to disassemble the toaster oven and cut wires to attach them to your relay. I want to avoid that. I'm going to have a separate external enclosure that houses the relay and the thermocouple, and I'll plug the toaster oven into that external box. I also want to have a user interface for this reflow oven, so I've got a TFT touchscreen display.
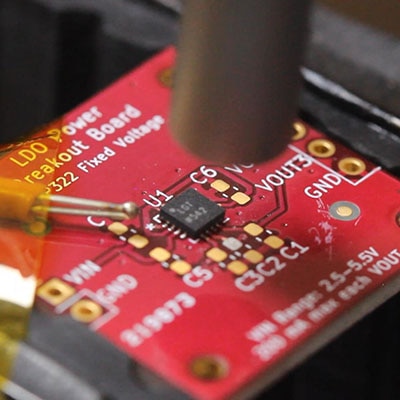
To start things off, I found a little knob on the back of the oven and I'm not sure what it does. Maybe it has a purpose and I'm not supposed to mess with it, but I want to remove the little rivet and drill the perfect-sized hole to stick the thermocouple through. With that done, I can write some code on the Arduino board and start measuring the temperature inside the toaster oven. There’s an integrated circuit on a breakout board that can read the thermocouple. It communicates with the microcontroller using the SPI interface. I've got the thermocouple wire run through the hole in the back of the toaster oven, and I've got it wrapped around the rack. This will give me temperature readings inside the toaster oven, but if I want to control the heat of the toaster oven, I need to be able to turn on and off the power source. So, I need to connect the solid-state relay to the plug of the oven.
Like I said earlier, I'll be using a PID control loop to control the temperature inside the oven. The input is the temperature sensor, and my output is the relay. I can turn on and off the toaster oven to maintain the heat. When I start the controller, you can see a basic solder reflow profile. It's got three segments: a preheat stage, a soak stage, and a reflow stage. I have different temperatures and durations set for each of those stages. With the basic functionality of this working, I need to put all the components into an enclosure and write some firmware for the user interface on the TFT display.
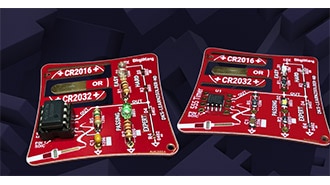
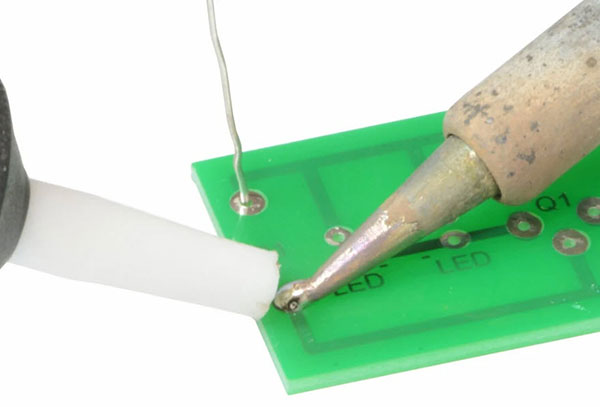
The user interface for the solder reflow oven is pretty straightforward. It has a few buttons to edit the preheat, the soak, and the reflow stages so the user can set the temperature and the duration for each stage. I've used a different color to designate the different stages. Red is for preheating, orange is for soaking, yellow is for reflowing, and blue is for cooling down. Once I confirm those settings, the controller will plot the reflow profile. This gives me a quick little visualization of what the reflow profile looks like before hitting the start button. To test the reflow oven, I'm going to put a couple of switches on a PCB that I designed. If I was going to populate this whole board, I would use the stencil that I ordered for this PCB. But since this is just a demonstration and it's just a couple of components, I'm going to apply that solder paste using a syringe. If you want to learn more about prototyping with solder stencils, check out the blog and video on Prototyping with Solder Stencils.
This is a project that has been on my list for a really long time, and I'm really excited to have it now and actually be able to use it. If this is something you want to build for yourself, you can find all the design documents and bill of materials on the GitHub page for this project. Right now, the firmware is super basic. There are a lot of cool features that I would love to add. If you end up downloading this code and making modifications, please make a pull request on GitHub. That way everybody can benefit from your hard work.